Once again the time has come. The year is slowly drawing to a close. For us, this means that we will be changing our clocks from daylight saving time to standard time on Sunday, 27 October 2024. This also includes the bike computer on the ebike. Here you can find out how to set the clock on your bike.
At first, some of you may wonder whether this doesn’t happen automatically. With modern drives such as the Smart System from Bosch, the change from summer to winter and vice versa is actually automatic. If your ebike is connected to the app, it synchronises as soon as the smartphone is within range and your drive is activated. However, not everyone has connected their ebike to the Bosch eBike Flow app. After all, the ebike can also ride without it. And sometimes there are glitches when connecting to the app.
With older ebike systems from Bosch and other manufacturers, on the other hand, there is no way around manual conversion. Fortunately, this usually takes very little time at all. For selected displays, we will show you step by step how to change from summer time to winter time.
1. Clock change with the Bosch Smart System
2. Clock change on the Bosch drive – development stage 2
3. Clock change on a display for a Flyer ebike
4. Clock change on the Shimano SC-E8000 display
5. Tip: The right twist for the clock change
1. Clock change with the Bosch Smart System
The way in which you can set the time depends on the respective display. It is also important which control unit is fitted to your ebike. It is either the Bosch LED Remote, the Bosch Mini Remote or the Bosch Mini Remote Dropbar. The former has five control buttons, while both of the latter only have three. As a result, you have to press different buttons to achieve success. To keep the descriptions as clear as possible, we always refer to the LED Remote. Anyone using a Mini Remote and Mini Remote Dropbar will have a more difficult time. Depending on the combination with the respective display, the same action may require a different procedure:
- short press of the select button = scroll between screens, change from hour value to minute value if necessary, confirm a selection if necessary
- long press of the select button (> 1 s) = open a menu, confirm a selection if necessary
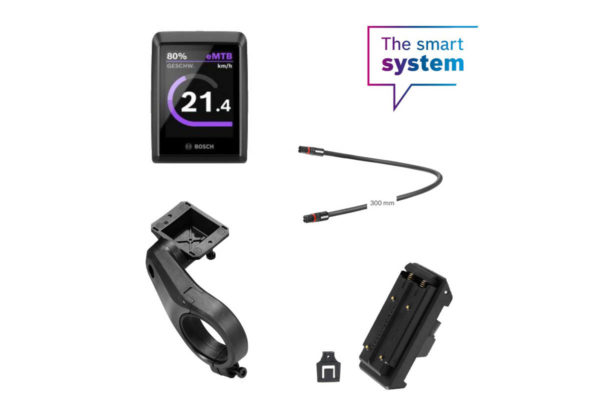
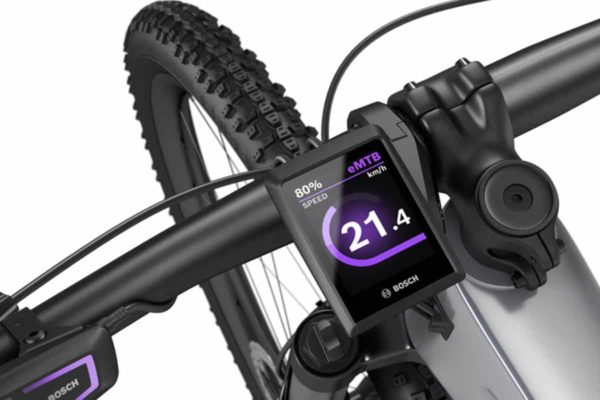
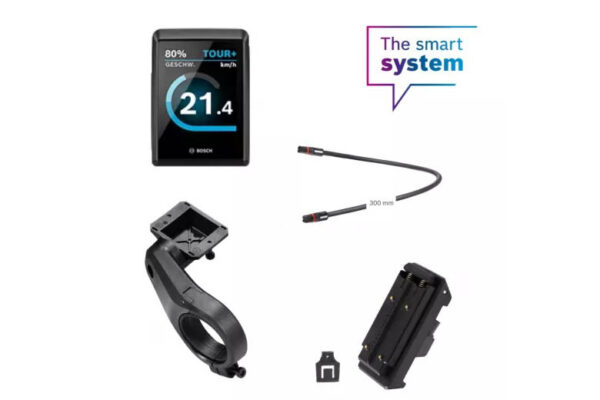
Bosch Kiox 300 and Bosch Kiox 500
Initially, the procedure for each of the Bosch displays is very similar. The starting point is always the start screen. From here, use the arrow buttons on the LED Remote to navigate to the status screen. This is the screen where the time is displayed in the centre and ‘Settings’ is displayed at the bottom. Then briefly press the select button. A menu with numerous sub-items will then open on the display. One of these is ‘My Kiox’. Below this you will also find the ‘Time’ item. Pressing the select button opens the next lower level. Here you can adjust the hours and minutes step by step using the plus and minus buttons. Press the select button one last time and the ebike system has adopted your settings.
Bosch Purion 200
After turning on the Purion 200, you first use the arrow buttons to switch from the start screen to the status screen. This is the screen where the time is displayed in the centre. Briefly press the select button once to open the settings from there. The submenus also include the one labelled ‘My Purion’. Below this, you will find the ‘Time’ menu. Select this by pressing the select button again. You can now set the hours and minutes using the plus and minus buttons. Press the hash button to save the settings.
Bosch Purion 400
The procedure on the Bosch Purion 400 repeats the steps from the Purion 200, the only difference being that this display does not have its own buttons. For this reason, we will again assume that it is combined with the LED Remote. Once again, you need to go from the start screen to the status screen. Use the arrow keys to do this. Briefly press the select button once to open the settings. Scroll through to ‘My Purion’ and then on to ‘Time’. Press the select button once and you are finally at the level where you can change the time. Use the plus and minus buttons to go up and down to set the hours and minutes. Press the select button. Saved. Done.
Bosch Intuvia 100
Use the arrow buttons on the LED Remote to scroll from the speedometer display with the current speed through the various screens until you reach the one that says ‘Settings’. Briefly press the select button once to open the settings. Several basic settings will then appear one after the other. Click through to ‘Time’ and briefly press the select button again. This will open the menu with the time. Don’t be surprised, the value for the hours is already flashing. If you keep the select button pressed, the counter will run in ascending order. You must therefore release the button at the right moment. There is no step-by-step setting via other buttons in this case.
You can access the minutes by pressing the right arrow button. Adjusting the minutes works in the same way as setting the hours. Your selection is saved as soon as you switch to another menu.
Bosch eBike Flow app
As an alternative to changing the time directly on the display, you can of course also set the time using your smartphone on the ebike. The change from the appropriate time for winter and summer is done automatically. If your ebike is connected to the eBike Flow app from Bosch, the update is just as conveniently transferred to the display as part of the synchronisation process. This happens as soon as the ebike and smartphone are next connected via the app.
Bosch Smart System displays
2. Clock change on the Bosch drive – development stage 2
Bosch Kiox
On the Bosch Kiox, the path from the start screen leads to the settings via the arrow buttons on the control unit. There, use the plus and minus buttons to navigate deeper into the menu to the ‘Sys settings’ sub-item. Open the menu by pressing the select button. The ‘Time’ item will then appear in the next submenu. Press the right arrow button once and you are in the right place. Now you can use the plus and minus buttons to change the value for the hours. To change the value for the minutes, press the right arrow button. Confirm your input by pressing the select button and you have finished changing the time.
Bosch Nyon and Bosch Nyon 2
Ebikes with the second development stage Bosch drive and a Bosch Nyon – whether the landscape-format Bosch Nyon or the smaller portrait-format Bosch Nyon 2 – benefit from the integrated GPS module of the respective display. Thanks to this, the bike computer automatically switches to either winter time or summer time. Every time the Bosch Nyon connects to the satellite system, both the time and the time zone are updated automatically. It could hardly be more convenient.
Bosch Intuvia
With the Bosch Intuvia, the changeover is done manually. Simply press the Reset button and the Display Function button at the same time. This opens the settings menu. The option to set the time appears first. You can set the time using the On and Off buttons. Then press the Reset button for about two seconds to confirm your input.
Tip: Setting the clock manually only works with all Bosch drives when the ebike is stationary. If you try to make the changes while riding, you will not be successful.
Displays for Bosch drive – development stage 2
3. Clock change on a display for a Flyer ebike
For those who ride a Flyer ebike featuring FIT and a D1 or D0 display, the manufacturer offers the following tips: ‘If you have a Flyer e-bike with FIT, first call up the settings menu. If you have the larger D1 display, navigate all the way to the right with your joystick. If your e-bike has the smaller D0 display, press and hold the mode button for at least three seconds. Navigate to the ‘Basic settings’ item and select it. You will then find the ‘Time’ menu and can set the current time.’ To confirm the entry, press the joystick on the control unit or the mode button twice, depending on which display you have.
If these instructions do not help you, you will find the relevant information in the operating instructions.
4. Clock change on the Shimano SC-E8000 display
In the case of the SC-E8000 from Shimano, all it takes is a few simple steps. Press and hold the round button under the display to open the settings menu. Use the buttons on the control unit to navigate up and down the menu. Do this until you reach the ‘Time’ item and confirm your selection by pressing the round button again. Then select the time using the two buttons on the control unit and finally confirm your selection by pressing the round button. That’s it!
5. Tip: The right twist for the clock change
Since 1996, the entire European Union has been turning the clock – at least as far as the changeover between daylight saving time and standard time is concerned. On the last Sunday in March, we set the clock forward by one hour to prepare for summer. On the last Sunday in October, with winter approaching, we take the hour back and go back to standard time. Incidentally, this is called standard time because it follows the actual position of the sun in Central Europe more closely. There is a scientific consensus that our biorhythm of waking and sleeping phases is better aligned with the light and dark phases of the day in this way. In addition, people have historically followed it for much longer. In Germany, for example, daylight saving time was first introduced in 1916 in what was then the German Empire.
When the clock is changed, the question often arises as to which way the hands should be turned. Fortunately, there is a mnemonic device in the English language pointing us in the right direction.
- „Spring forward, fall back.”. This refers both to the corresponding season and to the physical movement of the same name.
Pictures: Flyer AG; Shimano Europe B.V., Bosch eBike Systems


