When buying an ebike, this factor is often overlooked, although is paramount to enjoy a healthy and fit pedaling.
Physics of crank arms
Pedalling frequency and eBike cranks
Longer cranks
Biomechanics of cranks
Crank lengths
Calculating crank length
Correctly choosing cranks
The series crank arm length
The crank arm length chosen by e-bike manufacturers is normally the best one, nevertheless some specific needs or demands prompt a few eBikers to equip their ebikes with cranks having a slightly different length. Indeed, an inadequate crank length can affect your muscles and biomechanical performance. Moreover, crank lenght is a detail that makes it easy to see whether a manufacturer is really serious about a bicycle for children and is therefore using shorter cranks, or whether it only says children’s bicycle on it, while the equipment does not live up to the claim.

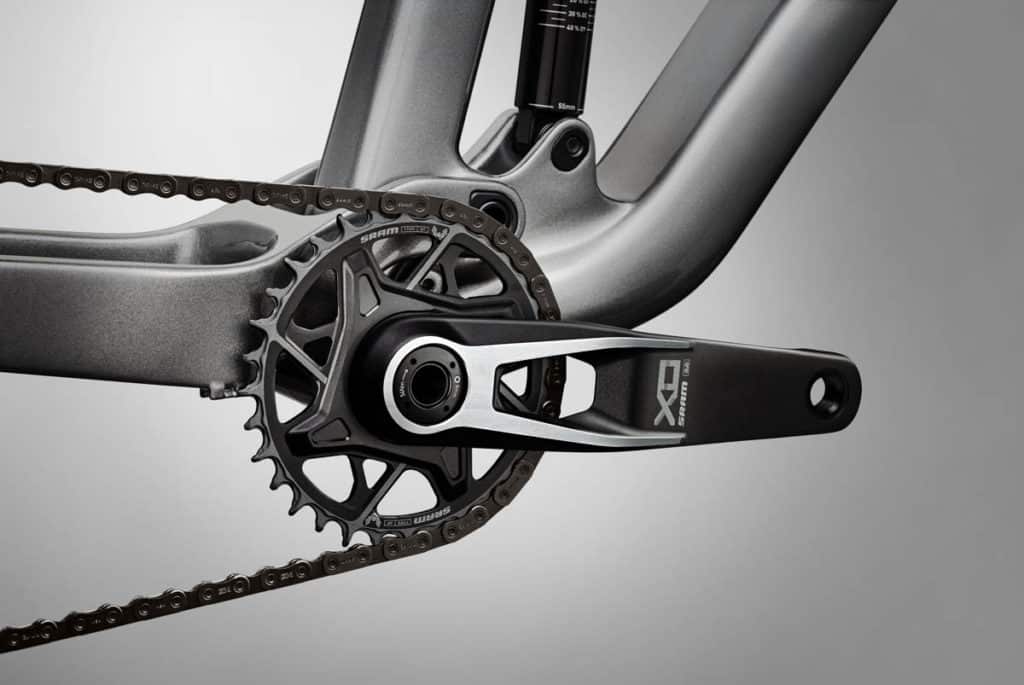
Sram Eagle Transmission crankset
Physics of crank arms
The crank is a second-degree lever, since the resistant force is located in the middle between the fulcrum and the point of force application. In fact, in an eBike crank we find:
- F: the fulcrum of rotation, which corresponds to the axis of the bottom bracket;
- R: the resistant force, which is applied at the chain pull point;
- P: the force impressed by the cyclist on the pedals:
- Ra: the resistance arm, which is given by the chain resistance multiplied by the diameter of the chainring;
- Pa: the power arm, which is given by the power expressed on the pedal multiplied by the length of the crank;
- Ps: the power of the electric motor support, which should be added to the power arm
Pedalling frequency and eBike cranks
The crank is therefore an advantageous lever, since the power arm is always greater than the resistance arm especially for an ebike. Indeed, if we are to challenge a 25% a steep climb, the resistance arm can easily be greater then the power arm, unless we have an ebike with a decent torque. That said, there is another important aspect to take into account: pedalling frequency. The pedal, during a complete revolution, describes a perfect circumference, the length of which is given by: 2 x crank x PI Greek x crank length. By varying the length of the crank, the length of the circumference to be travelled will therefore change, and therefore the time required for the same power output.
Longer cranks
It follows that:
– Using longer cranks will increase the power arm, so we will be able to push longer gears but the pedalling frequency will be lower;
– Using shorter cranks will decrease the power arm, so it will be more difficult to push longer gears but at the same time we will pedal more nimbly at a higher rpm;
In practice, pedalling with longer cranks favours the force expressed, allowing you to push harder on the flat or to be able to perform better on climbs. With shorter cranks you improve the agility of your athletic gesture, you pedal at higher frequencies (which allow you to reach higher speeds than a long ratio with low frequencies would) and have a beneficial impact on sprints and final sprints.
Biomechanics of cranks
These considerations must, however, be put in the context of biomechanics, that is, the search for the most comfortable and at the same time high-performance man-bike set-up. As the length of the crank increases, in fact, the knee is used more, since when the crank is vertical with the pedal at the top (at the point known as the ‘upper dead’) the knee flexion is higher, creating a smaller angle between thigh and calf. This situation can lead to the appearance of joint diseases. Furthermore, the choice of crank also depends on the age and gender of the cyclist: women and adolescents cannot change the length of the crank at will, otherwise they will run into knee problems.
For this reason, a range of cranks is always defined that can be used by each athlete, who can then use them according to their needs (pushing longer gears or pedalling more agilely).
Crank lengths
Currently on the market, the different crank lengths available are:
– For road ebikes/bikes: the most common are 170mm, 172.5mm, 175mm. There are also shorter cranks (167.5mm and 165mm), which are reserved for youth categories or the track sector, while some companies offer 180mm cranks for certain groups only;
– For mountain ebikes/bikes: here the crank length has increments of 5mm at a time, so we find 165mm, 170mm, 175mm, 180mm;
Assessing the appropriate crank lenght range
Rather than talking about a ‘one-size-fits-all’ measurement of crank length, it is better to talk about a range of measurements, i.e. a segment of length increments that may suit us.
Dr. Haushalter, a sports physician at the University of Lyon and biomechanic for the French national team, identified a direct relationship between an athlete’s femur length and crank length, as these two components work almost in parallel.
Calculating crank length
The table drawn up by Dr. Haushalter is based on the biomechanical length of the femur. This can be calculated by knowing the length of the femur from a measurement. Basically, you sit with your shoulders against a wall and your legs at 90°, and measure the distance between the protruding bones of the hip and kneecap. Then enter this measurement into a table to obtain the crank range suitable for one’s build.
Table for calculating crank length
| Femur length [in mm] | Crank measurement [in mm] |
| 300 | 162 |
| 320 | 164.8 |
| 330 | 166.6 |
| 360 | 167.4 |
| 380 | 169.1 |
| 400 | 170 |
| 420 | 172.2 |
| 440 | 176 |
| 460 | 177.1 |
| 480 | 177.6 |
| 500 | 180 |
We then need to check which actual crank length our femur corresponds to and then define the range, choosing the one immediately shorter or the one immediately longer.
For example, in a case with a 412mm femur length, one would need a 170mm crank, but he could use 167.5mm or 172.5mm cranks.
Correctly choosing cranks
So we have defined the right range of cranks for our build. How can we work out which ones are actually best for us? First by assessing what we really need. If we want to push longer ratios and perhaps have a better expression of power on the climbs, we should opt for the crank that is immediately longer than the size measured with Dr. Haushalter’s table. If on the other hand we want to pedal more agilely, it is better to opt for a shorter crank. However, this does not mean that we can change them whenever we want and however we want; it is always better to use a scientific approach.
Changing the length of the cranks is one of the most important biomechanical changes on the whole e-bike, which can have an impact on comfort, power expression and joint protection. Changing the cranks just for personal whim, thinking you’ll go stronger and participate in a granfondo without having tested them in training is counterproductive (as well as stupid, allow me).
The steps for a correct choice of cranks are as follows:
Calculate the right size for you
As we have seen above, the first thing we need to do is to find the crank length best suited to our build (the advice is to use the Haushalter method).
Analysing your riding style
The choice of crank length passes through a thorough analysis of your shortcomings and potential. Are you good on climbs but not very agile? Do you struggle to overcome the steepest climbs? Do you find yourself pedalling uphill with a small gear after just a few metres? Would you like to push harder on the flat? On the basis of this analysis, you should choose whether to lengthen or shorten (or keep unchanged) the crank length.
Choosing the length
Once you have decided which change to make, you will have to choose a crank size that is immediately shorter or longer. So you can only lengthen or shorten the crank by one increment (from 170mm to 172.5mm or 167.5mm, for example). Do not overdo it by using sizes that are out of range, as you could really hurt your joints.
Crank arms for recumbent eBikes
It’s worth noting that with a recumbent bike, AE or not, it’s better to use slightly shorter cranks that allow you to grind at high cadence (>80-90 RPM). It’s true that the recumbent position allows you to push harder, but it also puts more strain on your joints and tendons, which can be painful if you’re not careful.
Making biomechanical corrections
Saddle height. You must get on the bike and set the crank as if it were an extension of the seat tube. Here you must check that your foot is horizontal. If it is tilted forwards, it means the saddle is too high, and if it is tilted backwards it means the saddle is low. The angle formed by the thigh and the extension of the tibia is then checked with a biomechanic’s protractor. The values must be between 35° and 40°. A more open angle corresponds to a higher saddle and can be used by cyclists with very good muscular flexibility, while a more closed angle allows the saddle to be lowered slightly to help more ‘tied’ cyclists.
Knee position. To verify it, one must bring the crank horizontal to the ground and place the plumb line on the kneecap using Dr. Zani’s method: the plumb line is placed on the outside of the kneecap and the plumb line must touch the back of the pedal pivot. Once this position has been checked, one can act on the saddle back to move the knee. Moving the saddle forward (i.e. sliding it towards the handlebars) will also move the knee forward, while sliding the saddle towards the rear wheel will move the knee backwards. Once you have changed the saddle backwards, it is always best to check the knee position again with the plumb line.
Find more ebike tips here.
